Fit, dimensions & layout
Count every character and word spacer, then decide the gap between flags. Ten 100 mm-wide flags already occupy one meter before gaps and end attachments. Lay out a full paper dummy along the intended cord before cutting final stock. Keep letter size consistent by testing the widest character, usually a broad M or W in an uppercase alphabet.
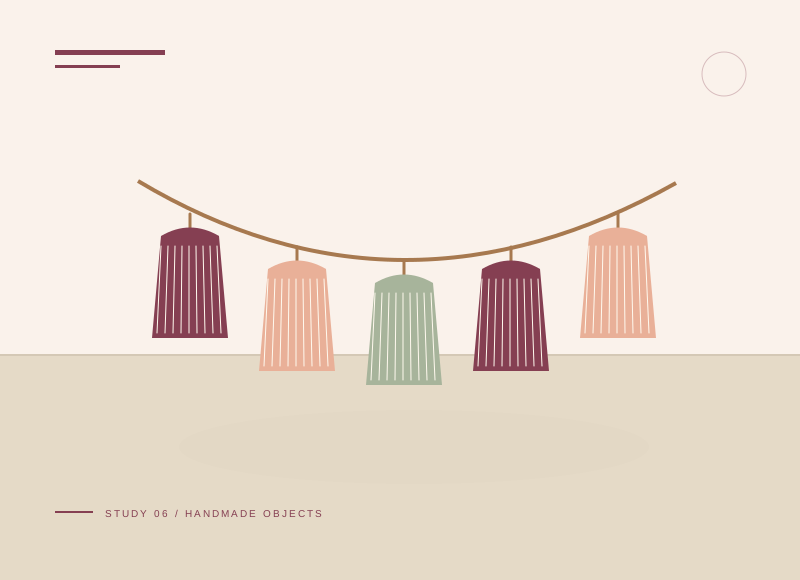
The illustration is a concept, not a scale drawing or a record of a tested build. Use a full-size template or dry fit to check the written layout with your actual materials.
Gather your materials
Tools to have nearby
Choose materials deliberately
Make it, step by step
Count the message
Include spaces before cutting and check the intended display width.
Check before moving onWrite the message on numbered scrap flags first to catch missing letters or spaces.
Make a template
Fold a rectangle at the top and cut a shallow V at the bottom.
Letter the flags
Use one readable letter per flag with strong contrast.
Assemble in order
Fold over the cord and glue paper faces together after checking the spelling.
Check before moving onRead the assembled banner aloud before closing the last flag; reversing a fold after glue dries can tear the paper.
Display safely
Keep the banner dry, away from heat, and beyond reach of children and pets. Avoid accessible cord loops.
Troubleshoot this project
Why is the message hard to read?
What to check. The contrast may be weak or the letters inconsistent in size.
Next move. Check one word from the intended viewing distance and simplify decorative details before cutting the full message.
Why is one flag sliding?
What to check. Its fold may be too loose or the paper faces may not be bonded as planned.
Next move. Check the glue placement on a spare folded flag and let it set before hanging.
The final check
The letters are in order and the display is clear of heat and accessible cords.
A blank spacer flag between words helps the message read clearly.
Record your actual sizes, material changes, and the result of your fit check in your project notebook. Keep the product name with any finish or adhesive sample.
Use a stable work surface and tools within your experience. Follow the exact tool and product instructions for preparation, dust control, ventilation, and cure. These decorative concepts have no structural load rating. Stop if the material or existing finish cannot be identified.